I’ve said it time and time again: I love learning from other coaches. Who better to learn more about squat mobility than former Olympic weightlifter and mobility coach Sonny Webster?
Webster is a hive of mobility knowledge. Given he throws very heavy weights overhead for a living, he knows how best to prepare his joints and muscles for exercise to avoid injury and maximize athletic performance.
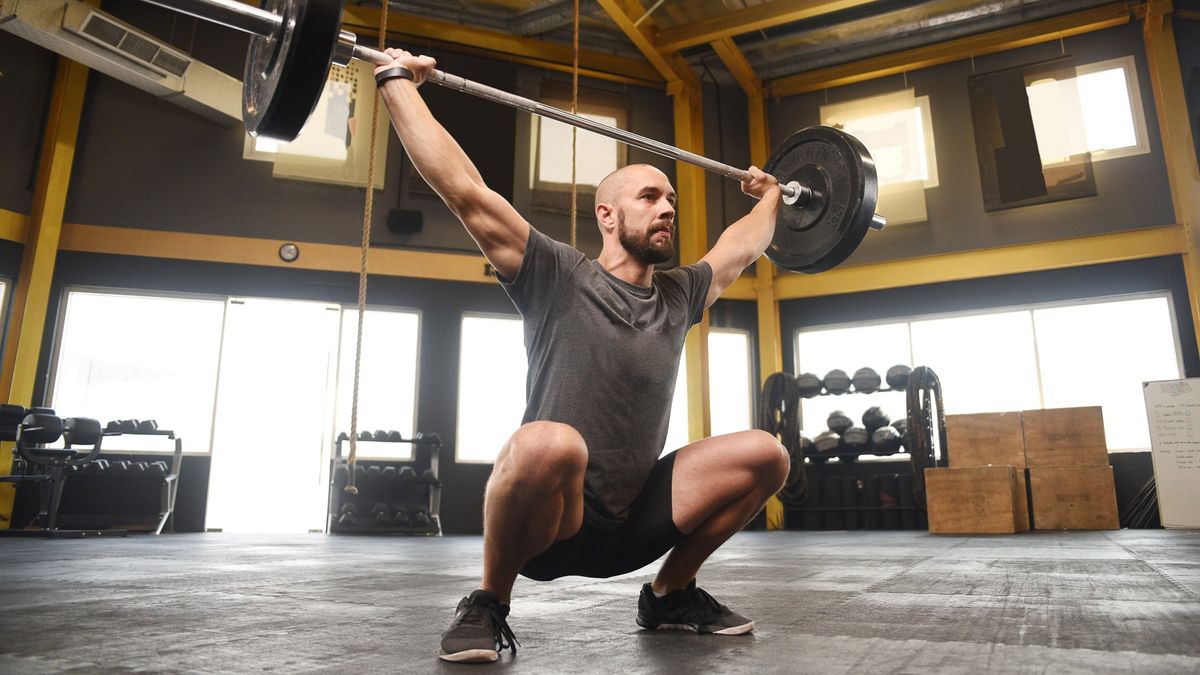
Here, he demonstrates the lever squat, one of my favorite moves for opening up the spine, hips and ankles.
Here’s how to do the squat variation and why you may want to add this lower-body exercise to your warm-ups. You just need one dumbbell; I recommend one of our top picks from this best adjustable dumbbells guide.
How to do the lever squat
By the time you get to the stage of learning the lever squat, you’ll need to have already learned (and be confident with executing) a standard squat with and without load.
- Stand with a medium-heavy dumbbell in one hand
- Position it against your back with your arm bent, elbow pointing toward the ceiling and arm pressed close to your head
- Place your feet roughly shoulder-width apart and extend your opposite arm out to the side for counterbalance
- Perform a squat, sitting your hips back as you bend both knees
- Pause at the bottom, then drive upward through your heels to stand.
Try to avoid letting your bent arm travel wide or chest fall forward. The aim is to open the chest while keeping your back straight. Webster says you want to allow the dumbbell to “hang back” to help pull you backward at the bottom of the squat.
By letting the dumbbell hang, you should notice a stretch through your latissimus dorsi (lat) and rear deltoid (shoulder). You’ll immediately notice you have a limited range of motion if your knees cave in, you can’t get to depth, your heels lift, or your back collapses. If you struggle to keep your arm in place, this can also signal mobility limitation.
Get instant access to breaking news, the hottest reviews, great deals and helpful tips.

Start light, then build weight as you develop and keep an eye on the signs from your body. Aim for 10 reps per side, twice through. You could use the lever squat as a standalone warm-up mobility exercise or work the exercise into a short mobility routine before a workout.
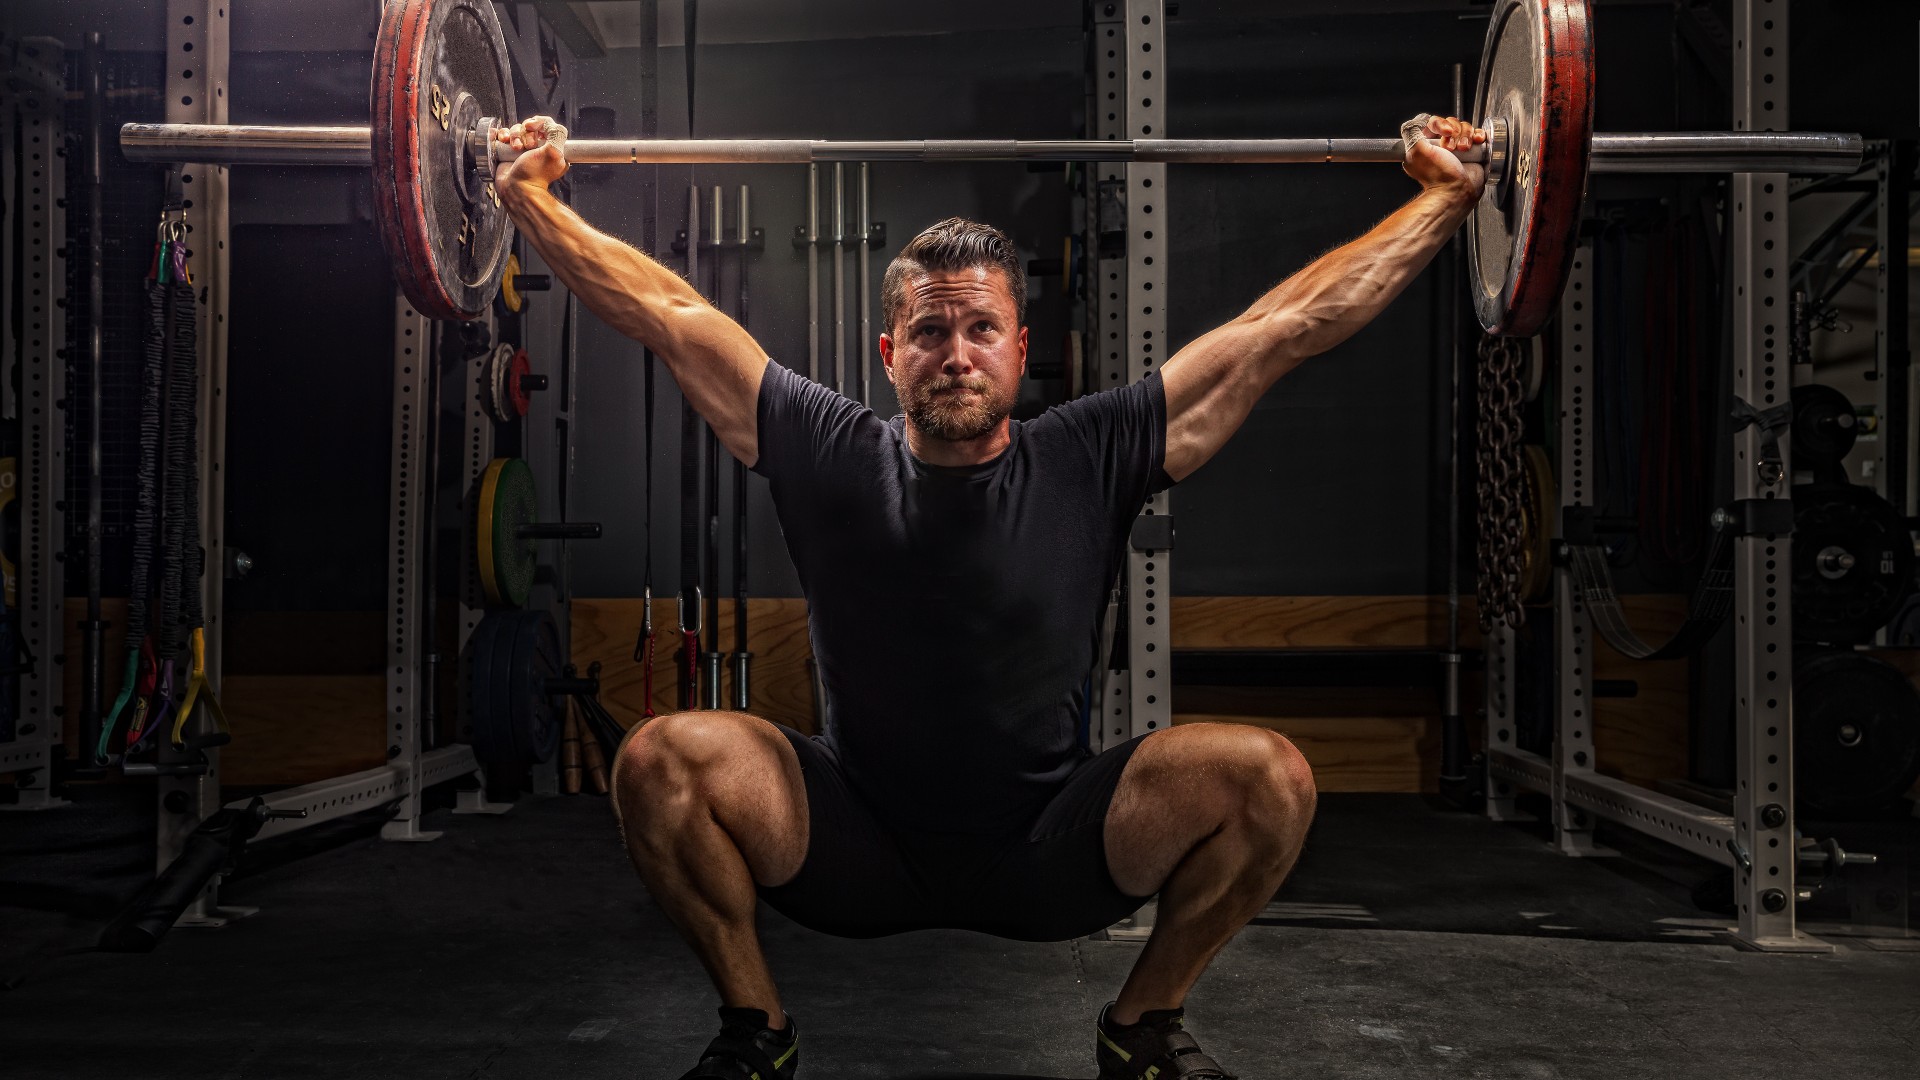
Webster also highlights three other moves he recommends to prepare you for your overhead squat, which includes a variation of the dynamic frog exercise, a seated overhead reach using a wallball and weight plate and an internal hip rotation exercise into external rotation to help open up the hips.
He demonstrates each move in the video, but the exercise I really want to highlight here is the lever squat.
“Most people think their overhead position is limited by tight shoulders and wrists, but that’s rarely the real issue,” says Webster. “The biggest restrictions in your overhead squat or snatch almost always come from your thoracic spine, hips, adductors, or ankles.”
Webster says that “pinpointing and attacking your weakest link” is the key to unlocking deeper positions with better stability and mobility.
For best results, I strongly believe mobility work shouldn’t be your last port of call or utilized into a routine just because you got injured; I see mobility as preventative, and it comes back to the old “motion is lotion” adage.
If you’re still fairly new to your mobility journey or you just need some inspiration, I recommend exploring some of our upper-body, lower-body and full-body routines below. They’re designed and created by us or other coaches to help you get started on unlocking your mobility faster.


